Before diving into your exciting project of building a DIY Chainsaw Log Cabin, it's important to gather all the essential building materials you'll need. Starting off right ensures a smoother construction process, and you'll be able to enjoy the fruits of your labor sooner rather than later. Let's take a look at what you'll need!
First and foremost, logs are the most significant material for your cabin. Depending on the design and size you envision for your DIY Chainsaw Log Cabin, you'll want to source high-quality logs. Look for straight, sturdy logs that are at least 8-12 inches in diameter. It's crucial to select logs that are free from major blemishes or rot to ensure a stable and long-lasting structure.
In addition to logs, you'll need a variety of other materials. These include plywood for your roofing, insulation to keep your cabin comfortable, and nails or screws to hold everything together. Don't forget about windows and doors; they’ll add character and functionality to your DIY Chainsaw Log Cabin. Look for options that complement your aesthetic while being energy efficient.
Lastly, ensure you have the right tools. A chainsaw, of course, is essential for cutting the logs to size. You'll also require a level, measuring tape, and safety gear to protect yourself during the building process. Gathering all these materials ahead of time will help set the foundation for a successful DIY Chainsaw Log Cabin project.
Step-by-Step Cabin Design Process
Designing your own DIY Chainsaw Log Cabin can be an exciting and rewarding experience. To start your journey, the first step is to choose the right location. Look for a flat area with good drainage and plenty of sunlight. Ensure that you have access to water and electricity if needed. Once you've picked the perfect spot, it's time to sketch out a basic floor plan. Keep it simple to start, focusing on the layout of rooms and essential spaces like a kitchen and bathroom.
The next step in the cabin design process is selecting your materials. For a DIY Chainsaw Log Cabin, you'll primarily be using logs, which means you'll need to consider the type of wood that’s best suited for your cabin. Research different options such as pine, cedar, or spruce, and decide based on durability, insulation properties, and availability. Don't forget to plan for insulation and roof materials, as they are crucial for maintaining a comfortable living space.
After finalizing your design and materials, it’s time to create a materials list. This list will help you stay organized and ensure that you have everything you need when you begin construction. Include everything from logs to nails and roofing materials. Once you have your materials ready, you'll want to gather necessary tools like a chainsaw, hammer, and measuring tape. With your plans in place and tools at hand, you're now ready to start constructing your DIY Chainsaw Log Cabin.
Constructing Walls and Roof Tips
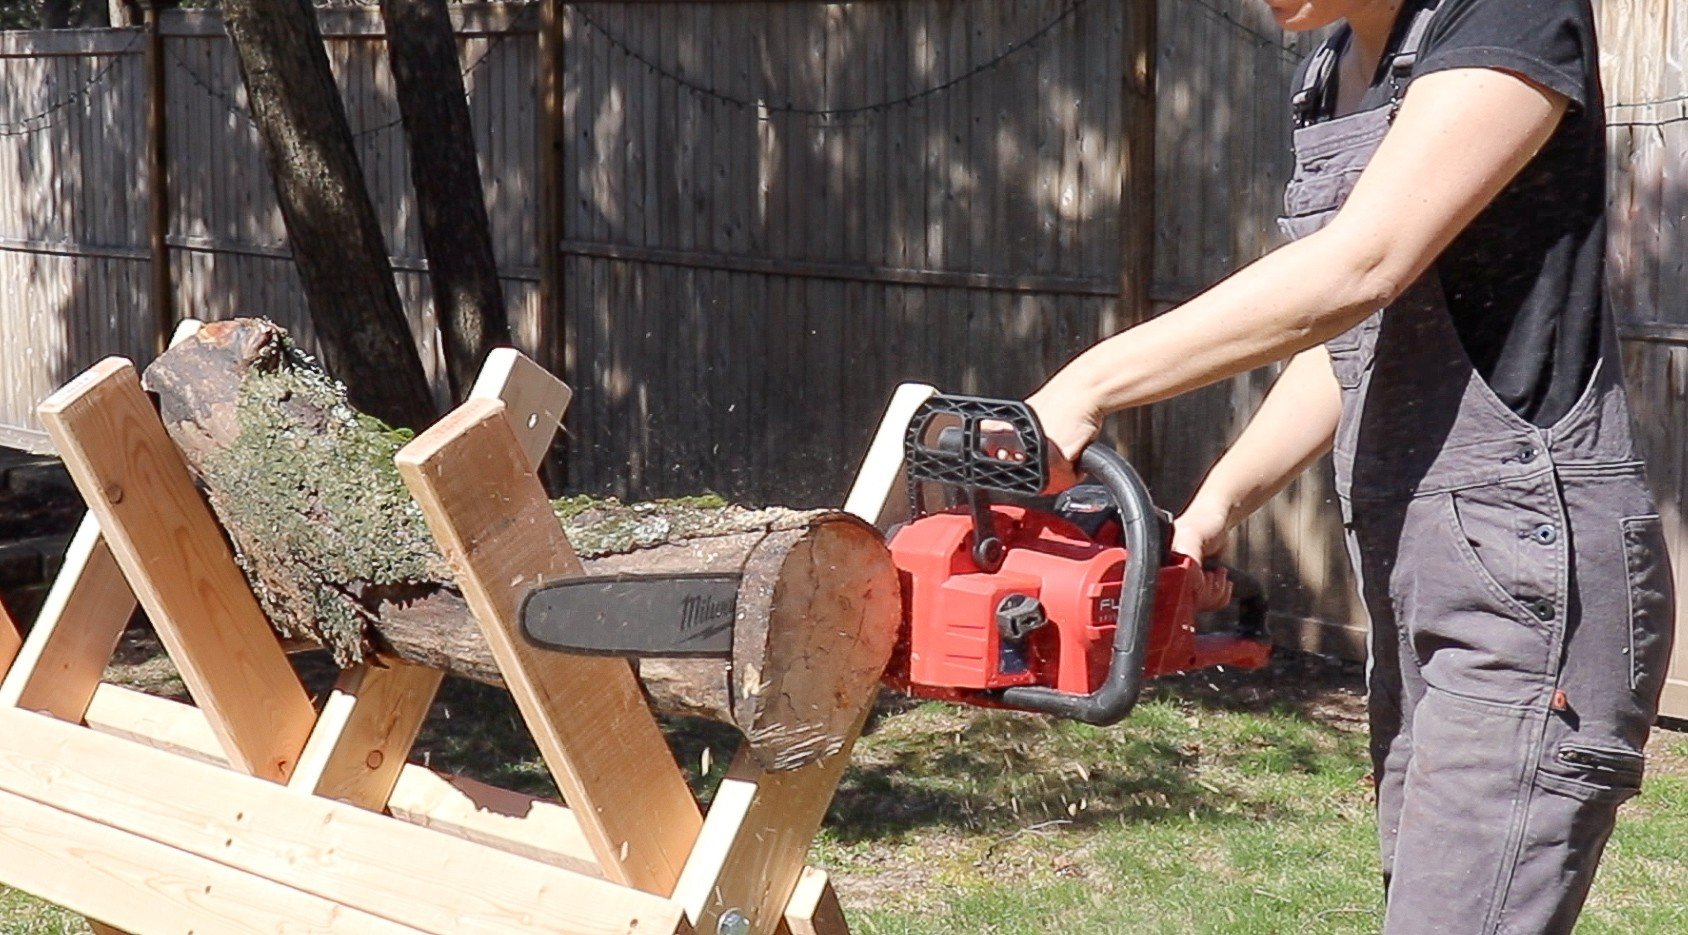
When it comes to constructing the walls and roof for your DIY Chainsaw Log Cabin, knowing a few handy tips can make the process a lot smoother. First, ensure that your logs are cut to uniform lengths. Consistency will not only enhance the aesthetic appeal of your cabin but also provide better insulation and sturdiness against the elements.
For the walls, start by laying the first row of logs directly on a well-prepared foundation. Use spacers between the logs to allow for settling. As you stack the logs, consider using the notching technique, where you carve out notches at each log's end. This method helps the logs fit snugly together, reducing gaps and improving structural integrity.
When it comes to the roof, a sloped design can be incredibly effective for drainage. A simple gable roof or a peaked roof can be made from smaller logs or lumber, with a covering of metal sheets or shingles to protect against rain and snow. Remember to ensure proper ventilation in the roof space to prevent moisture problems.
Lastly, always prioritize safety during your building process. Wear protective gear when using your chainsaw and ensure you have a buddy to help with heavy lifting. With careful planning and execution, your DIY Chainsaw Log Cabin can become a warm and inviting retreat for years to come.
Final Touches for Your Cabin
After you have successfully put your DIY Chainsaw Log Cabin together, it’s time to focus on the final touches that will elevate your cabin from a simple structure to a cozy retreat. These finishing touches are what make your cabin feel like home, allowing you to express your personal style while enhancing the functionality of the space.
First, consider the interior design elements. Think about the flooring, wall treatments, and furniture arrangements. You might opt for a rustic hardwood floor to complement the natural logs of your cabin. Adding comfortable furniture and decorations, such as quilts or handmade crafts, can infuse warmth and personality into the space. Don’t forget about proper lighting! Strategically placed lamps or even fairy lights can create a welcoming atmosphere during those cozy nights.
Next, focus on exterior details. The outside of your DIY Chainsaw Log Cabin should blend harmoniously with its surroundings. Consider adding a porch or deck to provide a lovely outdoor space for relaxation. Flower boxes add charm and color, while outdoor seating enhances the overall aesthetic. You could also build a fire pit for evenings spent under the stars, making your cabin a gathering place for family and friends.
Lastly, take care of maintenance and protection. To ensure your DIY Chainsaw Log Cabin lasts for many years, apply a good quality sealant to protect the logs from moisture and pests. Regular inspections of the roof, windows, and siding will help you catch any issues early on. With these final touches, your cabin will not only look beautiful but also stand the test of time, becoming a cherished getaway for years to come.