Before diving into your Chainsaw Sawhorse DIY project, it's essential to gather all the materials you'll need. Having everything ready at your fingertips will make your building process smooth and enjoyable. Below, you will find a comprehensive list of materials that are commonly used to create a sturdy and reliable sawhorse.
Start with the main components: lumber. You'll typically need two 2x4 boards for the top of each sawhorse, which will provide stability and support. Additionally, grab some 2x4 boards for the legs. Depending on your desired height, you might need a few more boards. Take some time to decide how tall or wide you want your finished product to be, as this will influence your measurements.
Next, don't forget about connectors and fasteners! Wood screws will be vital for securing your sawhorse together. A box of 2.5-inch screws is usually a safe bet. If you want to add extra stability, consider getting metal brackets or corner braces. These can help strengthen joints and ensure your Chainsaw Sawhorse DIY project can handle heavy-duty use.
Lastly, other handy tools you might need include a saw, a drill, a measuring tape, and a level. These tools will not only help you cut the wood to the proper dimensions but also ensure your sawhorse is constructed accurately and safely. With your materials list ready, you're one step closer to building your sawhorse!
Step-by-Step Instructions for Assembly
As you embark on your Chainsaw Sawhorse DIY project, having a straightforward set of instructions will make the assembly process much smoother. Gather your materials, and let’s get started!
Step 1: Prepare Your Materials
First, ensure you have all the necessary materials. You will need two sturdy wooden beams for the legs, a flat board for the work surface, screws, and wood glue. It’s a good idea to have safety goggles and a power drill on hand. Lay everything out in your workspace, so you have easy access throughout the assembly process.
Step 2: Cut the Wood
Using your saw, cut the wooden beams to the desired length for the legs—typically around 36 inches works well. After that, cut the flat board to your preferred working surface size, ensuring it is wide enough to hold the logs securely. Remember to measure twice and cut once to avoid mistakes!
Step 3: Assemble the Legs
Take one of the wooden beams and choose the angle you want for the legs. A slight angle helps stabilize the sawhorse. Attach the legs to one end of the flat board using screws and wood glue for added strength. Repeat this for the other side, ensuring that the legs are even and securely attached.
Step 4: Final Touches
Once the legs are attached, flip your sawhorse upright and check for stability. If everything looks good, consider sanding down any rough edges to prevent splinters. You can also apply a wood sealant to enhance durability and protect against the elements. Now, your Chainsaw Sawhorse DIY project is ready to use!
Tips for Safe Chainsaw Use
Using a chainsaw can be a convenient way to tackle projects around your home, especially when building a Chainsaw Sawhorse DIY. However, safety should always come first. Before you start cutting, ensure you’re wearing the appropriate personal protective equipment (PPE). This includes safety goggles to protect your eyes from flying debris, hearing protection to guard your ears, and sturdy gloves to protect your hands. Don’t forget to wear steel-toed boots for added foot protection.
Before you turn on your chainsaw, familiarize yourself with its components and safety features. Always inspect the chainsaw for any damages, such as a dull chain or loose parts, that could lead to accidents. Make sure to follow the manufacturer's instructions for operating your specific model. An important tip for your Chainsaw Sawhorse DIY project is to always check your surroundings before making a cut. Ensure that there are no people or pets nearby and that you have a clear escape route if necessary.
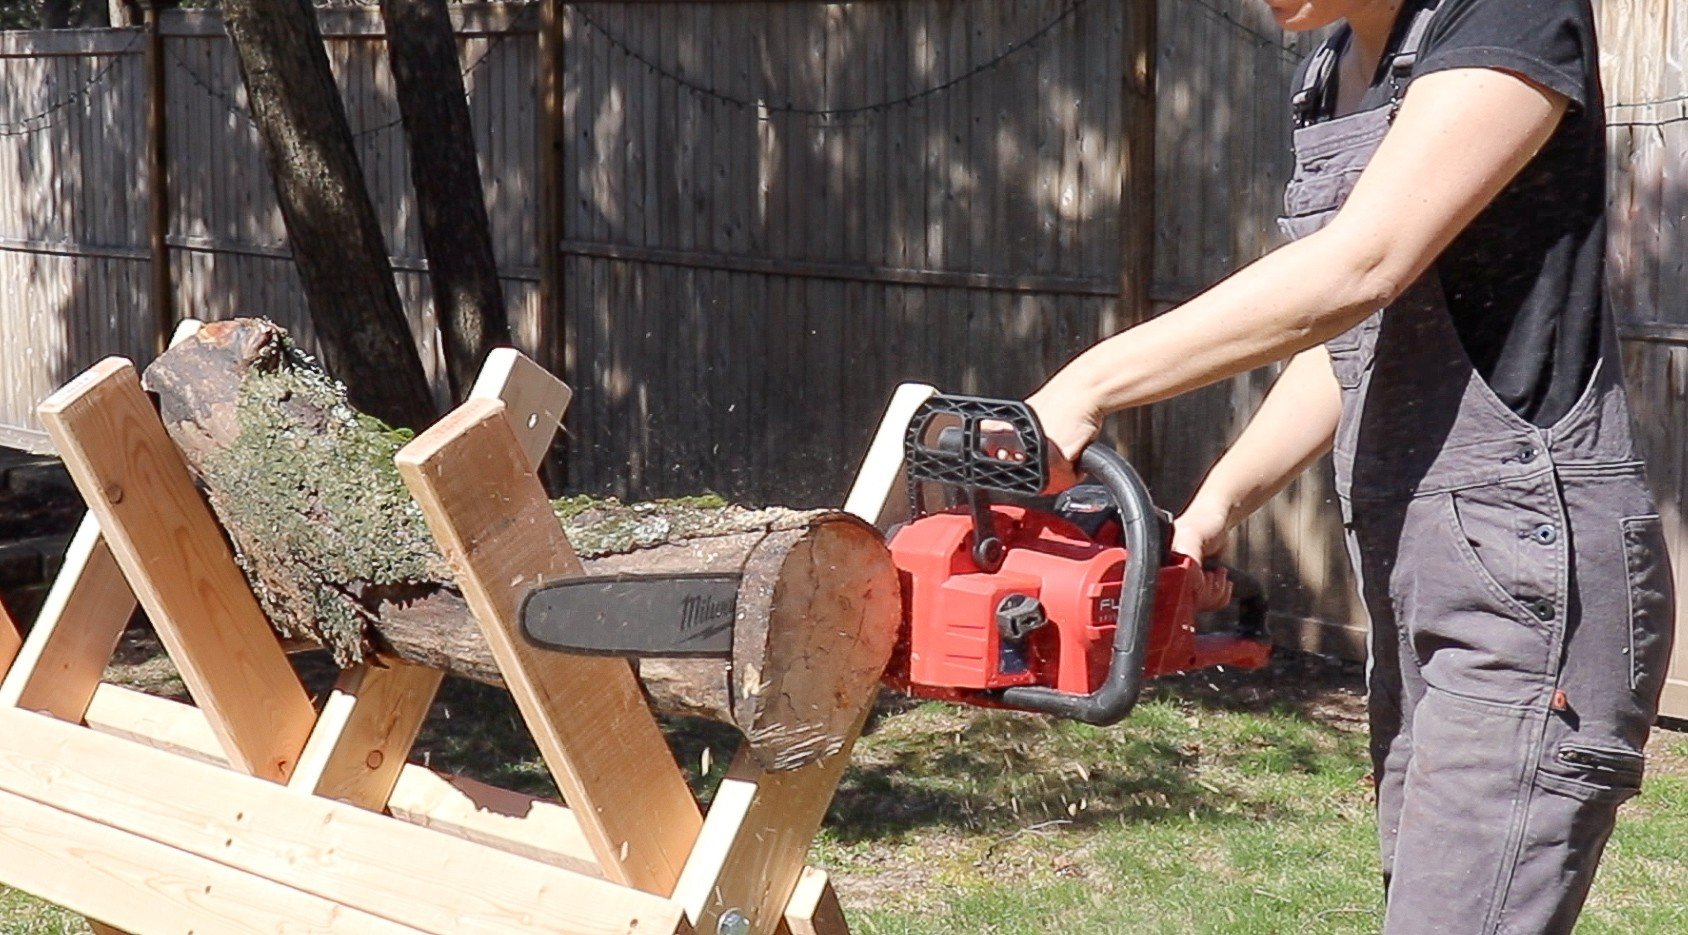
When using the chainsaw, maintain a firm grip with both hands and keep your hands away from the chain area. Use a stable surface, such as your newly built sawhorse, to support the material you're cutting. This will help prevent kickback, which can be dangerous. If the chainsaw does get stuck, turn it off and carefully assess the situation before attempting to free it.
Finally, always remember to transport your chainsaw safely. Use a chainsaw carrying case or cover the blade to prevent accidents while moving it. After finishing your work, make sure the chainsaw is off and properly stored away. By following these tips, you can enjoy your Chainsaw Sawhorse DIY project while keeping safety at the forefront.
Finishing Touches to Enhance Your Project
As you wrap up your Chainsaw Sawhorse DIY project, it's time to focus on the finishing touches that will not only enhance the look of your sawhorse but also improve its functionality. A few simple adjustments can make a world of difference, ensuring your creation is both aesthetically pleasing and practical for your woodworking needs.
First, consider applying a protective finish to the wood. Whether you choose a clear coat or a colored stain, this step will safeguard the raw wood from moisture and wear while also adding an attractive sheen. Make sure to sand the surface lightly before applying the finish for an even smoother appearance. This quick step can transform your project from basic to beautifully polished.
The next enhancement to consider is adding rubber feet or pads to the bottom of your sawhorse legs. These pads will prevent the sawhorse from sliding on slick surfaces and protect your floors from scratches. They also provide an extra layer of stability, ensuring that your Chainsaw Sawhorse DIY is secure during use. Simple rubber pads can be easily glued or screwed onto each leg for an effective upgrade.
Lastly, think about organizing your workspace. A simple tool holder mounted on the side of your sawhorse can keep everything you need within arm's reach. You can use small containers or even create a custom holder out of scrap wood to keep your tools organized while you work. This will not only streamline your process but also ensure that your newly built chainsaw sawhorse remains a practical and efficient addition to your workshop.